Introduction
If you're looking to enhance your gardening experience and create a dedicated space for your plants, building a DIY garden bed is a great way to start. In this guide, you will learn how to construct a simple yet effective garden bed using basic tools and materials. We'll walk you through each step, ensuring that you can easily follow along and create a functional and attractive space for your gardening hobby.
Step 1: Choose the Right Location
Before you start building, you need to find the perfect spot for your garden bed. Consider the following factors:
- Sunlight: Look for a location that receives at least 6-8 hours of sunlight each day.
- Drainage: Ensure the area has good drainage to avoid waterlogging.
- Accessibility: Choose a location that is easy to reach for watering and maintenance.
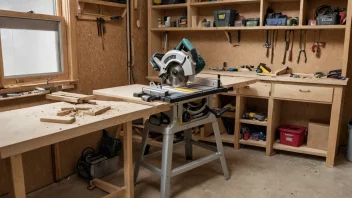
Step 2: Gather Your Materials
For a basic garden bed, you will need the following materials:
- Wooden planks (cedar or redwood are good choices)
- Wood screws or nails
- Landscape fabric
- Soil and compost
- Tools: saw, drill, measuring tape, level, and hammer
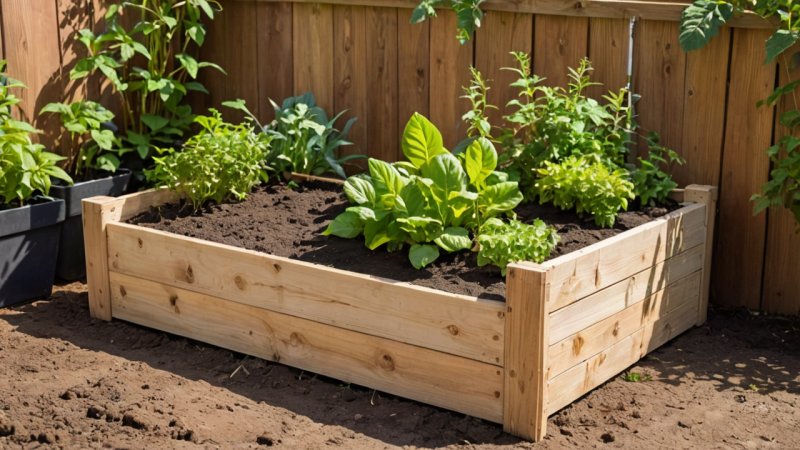
Step 3: Decide on the Size and Shape
Determine how large you want your garden bed to be. A common size for a raised garden bed is 4 feet by 8 feet, but you can customize it to fit your space. The depth should be at least 12 inches to accommodate root growth.
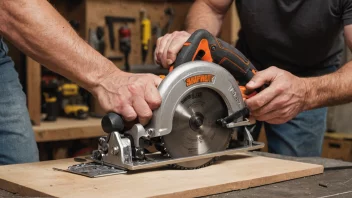
Step 4: Cut the Wood
Using your saw, cut the wooden planks to the desired lengths. For a 4x8 foot garden bed, you will need:
- Two 4-foot pieces for the shorter sides
- Two 8-foot pieces for the longer sides
Step 5: Assemble the Frame
Using your drill and screws, assemble the rectangular frame of the garden bed. Make sure the corners are squared by checking with a level. This will ensure stability and a neat appearance.
Step 6: Prepare the Ground
Before placing the garden bed frame, prepare the ground where it will sit:
- Remove any grass or weeds from the area.
- Level the ground as much as possible.
- Lay down landscape fabric to prevent weeds from growing through the soil.
Step 7: Place the Frame
Carefully place the assembled frame on the prepared ground. Make sure it is level and adjust as needed. This is crucial for proper drainage and ease of access.
Step 8: Fill with Soil and Compost
Now it’s time to fill your garden bed with soil and compost. A mixture of both will provide the necessary nutrients for your plants:
- Start with a layer of coarse material like small rocks or pebbles at the bottom for drainage.
- Add a mix of garden soil and compost, filling it to about an inch below the top of the frame.
Step 9: Plant Your Seeds or Plants
Now that your garden bed is prepared, you can start planting. Choose seeds or seedlings based on your climate and preferences. Make sure to follow the planting instructions specific to each type of plant.
Step 10: Water and Maintain
Once your plants are in the ground, water them thoroughly. It’s important to maintain your garden bed by regularly checking for weeds, pests, and ensuring your plants are getting enough water.
Conclusion
Building a DIY garden bed is a rewarding project that can enhance your gardening experience. By following these steps, you can create a dedicated space for your plants that is easy to maintain and customize. Remember to enjoy the process and experiment with different plants to find what works best for you!