Building a birdhouse is not only a rewarding project but also a fantastic way to connect with nature. Whether you're a seasoned DIY enthusiast or just starting, creating a birdhouse can be an enjoyable and educational experience. In this guide, we'll walk you through the simple steps of crafting your first birdhouse using basic tools. You'll learn what materials to use, how to design your birdhouse, and some handy tips for ensuring your feathered friends will love their new home.
1. Gather Your Materials
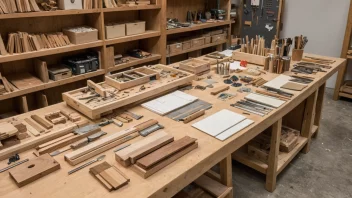
Before diving into the construction, it’s essential to gather all the necessary materials. Here's what you'll need:
- Wood: Choose untreated cedar or pine, as they are both durable and safe for birds.
- Screws or Nails: Use galvanized screws or nails to prevent rust.
- Wood Glue: This adds extra strength to your birdhouse.
- Sandpaper: To smooth out rough edges and prevent injury to birds.
- Tools: A saw, drill, screwdriver, and measuring tape are essential.
2. Design Your Birdhouse
Next, it's time to design your birdhouse. Simplicity is key, especially for your first project. Here are some basic design elements:
- Dimensions: A typical birdhouse for small birds like bluebirds should be about 6 inches wide, 6 inches deep, and 8-12 inches tall.
- Entrance Hole: The hole should be around 1.5 inches in diameter for small birds. Position it 6-8 inches above the floor of the birdhouse.
- Ventilation and Drainage: Add small holes near the top for ventilation and a few holes in the bottom for drainage to keep the interior dry.
3. Cut Your Wood Pieces
With your design in mind, it's time to cut your wood pieces. Follow these steps:
- Measure and mark your wood according to your design.
- Use a saw to carefully cut out the pieces: front, back, sides, bottom, and roof.
- Remember to sand all edges to remove splinters.
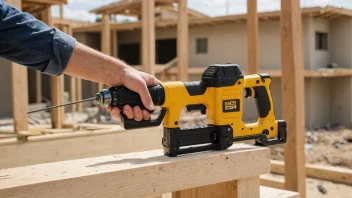
4. Assemble the Birdhouse
Once all the pieces are cut and smoothed, it's time to assemble your birdhouse. Here’s how:
- Start with the bottom piece. Attach the sides first using screws or nails.
- Next, attach the back piece and then the front with the entrance hole.
- Finally, add the roof pieces, ensuring they overlap to protect against rain.
5. Finishing Touches and Placement
After assembly, it’s time for the finishing touches:
- Paint or Stain: Use non-toxic paints or stains if you want to add color, but ensure they are bird-safe.
- Attach a Perch: A small perch can be added below the entrance hole, although it’s not necessary.
- Placement: Hang or mount your birdhouse in a quiet, sheltered area, preferably facing away from prevailing winds.
By following these steps, you can create a simple yet effective birdhouse that will attract birds to your yard. Remember, building a birdhouse is not just about providing a place for birds to nest; it’s about creating a space where you can enjoy watching nature unfold right before your eyes. Happy building!