Building a custom gaming PC can be an exhilarating experience, especially for those looking to elevate their gaming experience beyond the limitations of pre-built systems. For men who are passionate about gaming, the idea of assembling a rig tailored to their specific needs and preferences is not only appealing but also empowering. This guide is designed to walk you through the entire process, from understanding the core components to the finer points of assembly, ensuring that you can confidently embark on your journey into the world of custom gaming PCs.
Understanding the Core Components
Before you dive into the assembly process, it's essential to understand the main components that make up a gaming PC. Each part plays a critical role in performance, and knowing what to look for can help you make informed decisions.
- CPU (Central Processing Unit): Often referred to as the brain of the computer, the CPU handles all instructions and calculations. Popular choices for gaming include Intel's Core series and AMD's Ryzen processors.
- GPU (Graphics Processing Unit): The GPU is crucial for rendering images, videos, and animations. A powerful graphics card is a must-have for any serious gamer. NVIDIA and AMD are the leading manufacturers.
- Motherboard: This is the main circuit board that connects all components. Ensure compatibility with your CPU and other components when choosing a motherboard.
- RAM (Random Access Memory): RAM is temporary storage that allows for smooth multitasking and gameplay. Aim for at least 16GB for a quality gaming experience.
- Storage (HDD/SSD): Decide between a traditional hard drive (HDD) for larger storage capacities or a solid-state drive (SSD) for faster load times. A combination of both is often ideal.
- Power Supply Unit (PSU): The PSU provides power to all components. Choose a reliable PSU with sufficient wattage to support your build.
- Case: The case houses all your components. Look for one with good airflow and enough space for your components.
Choosing the Right Components
Once you understand the components, it's time to make your selections. Here are some tips for picking the right parts for your custom gaming PC:
- Set a Budget: Determine how much you're willing to spend. This will help narrow down your options.
- Research Compatibility: Use tools like PCPartPicker to ensure all your chosen components are compatible with each other. This tool can also help you stay within your budget.
- Read Reviews: Look for reputable reviews on components to gauge performance and reliability. User reviews can provide insights into real-world performance.
- Future-Proofing: Consider components that will allow for upgrades in the future. This is especially true for the motherboard and power supply.
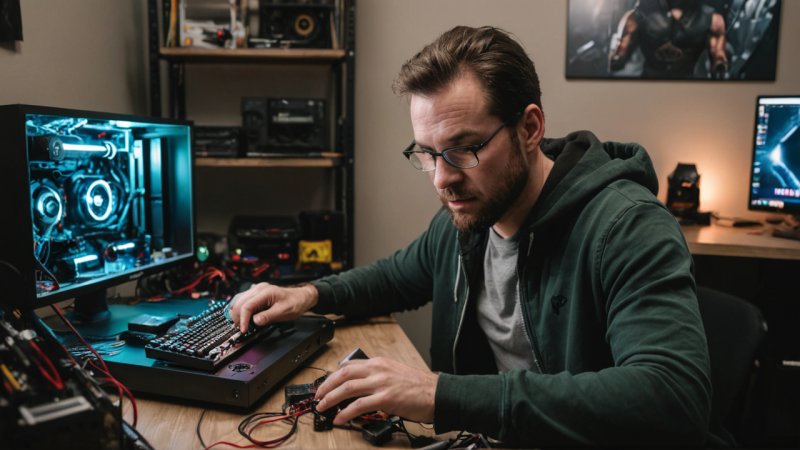
Assembling Your Gaming PC
With your components in hand, the next step is assembly. Follow these general steps to put your gaming PC together:
- Prepare Your Workspace: Find a clean, well-lit area to work. Having a static-free surface is important to avoid damaging components.
- Install the CPU: Gently place the CPU into the motherboard socket, aligning the notches. Secure it in place.
- Add RAM: Insert the RAM sticks into the appropriate slots on the motherboard. Make sure they click into place.
- Install the CPU Cooler: If your CPU doesn’t come with a cooler, install an aftermarket one according to the manufacturer’s instructions.
- Mount the Motherboard in the Case: Secure the motherboard to the case using screws. Ensure it’s aligned correctly with the I/O shield.
- Install the GPU: Carefully insert the GPU into the designated PCIe slot on the motherboard and secure it with screws.
- Add Storage Drives: Install your HDD and/or SSD in their respective bays and connect them to the motherboard.
- Connect the Power Supply: Route the cables from the power supply to the motherboard, GPU, and storage drives, ensuring everything is connected firmly.
Installing the Operating System
Once your PC is assembled, it’s time to install an operating system. Windows is a popular choice for gaming, but you can also consider Linux if you're feeling adventurous. To install your OS:
- Prepare a Bootable USB: Download the OS installer and create a bootable USB drive using tools like Rufus.
- Boot from USB: Connect the USB drive to your PC, power it on, and enter the BIOS to set the USB drive as the primary boot device.
- Follow the Installation Prompts: The installer will guide you through the setup process. Make sure to allocate enough space for the OS and any future applications.
Tweaking and Optimizing Your Build
After installing the OS, you may want to tweak settings for optimal performance. Here are some suggestions:
- Update Drivers: Ensure all drivers, especially for your GPU, are up to date for the best performance.
- Optimize Settings: Adjust settings in the OS and games for better performance, such as resolution and graphics settings.
- Monitor Temperatures: Use software to monitor component temperatures and ensure everything is running smoothly.
Conclusion
Building a custom gaming PC is a rewarding process that allows you to create a machine tailored specifically to your gaming needs. By understanding the components, choosing the right parts, and carefully assembling your rig, you can enjoy an enhanced gaming experience that far exceeds what pre-built systems offer. Plus, the skills you gain from this process can empower you to make future upgrades and repairs with confidence. So gather your tools, follow this guide, and get ready to dive into your new gaming adventure!